Hey, everyone!
Today I am excited to share this super easy and super
chic DIY project with you!
What could be more glam than a marble photo frame? Such a pretty way to display a favorite photo! Let me show you how!
You will need:
Marble Contact Paper, sold here:
Scissors
Scotch Tape
Picture Frame (flat on all sides, not beveled)
Start by measuring your frame against the back of the contact paper. There is a handy grid and ruler on the back so it is super easy!
Figure out the width of the sides plus the front,
and the depth. I had to guess at this, and I gave myself a bit extra, just incase.
Figure out the height you will need and cut out the first strip.
I did the long sides first, and once you have your first strip cut, you can simply trace that piece and cut another.
Lay your first piece, starting at the back and wrapping towards the
front. The paper is not super sticky which is good and bad. Good because
you can easily adjust it. Bad because it can tend to lift in the
corners. That's where the Scotch tape will come in later.
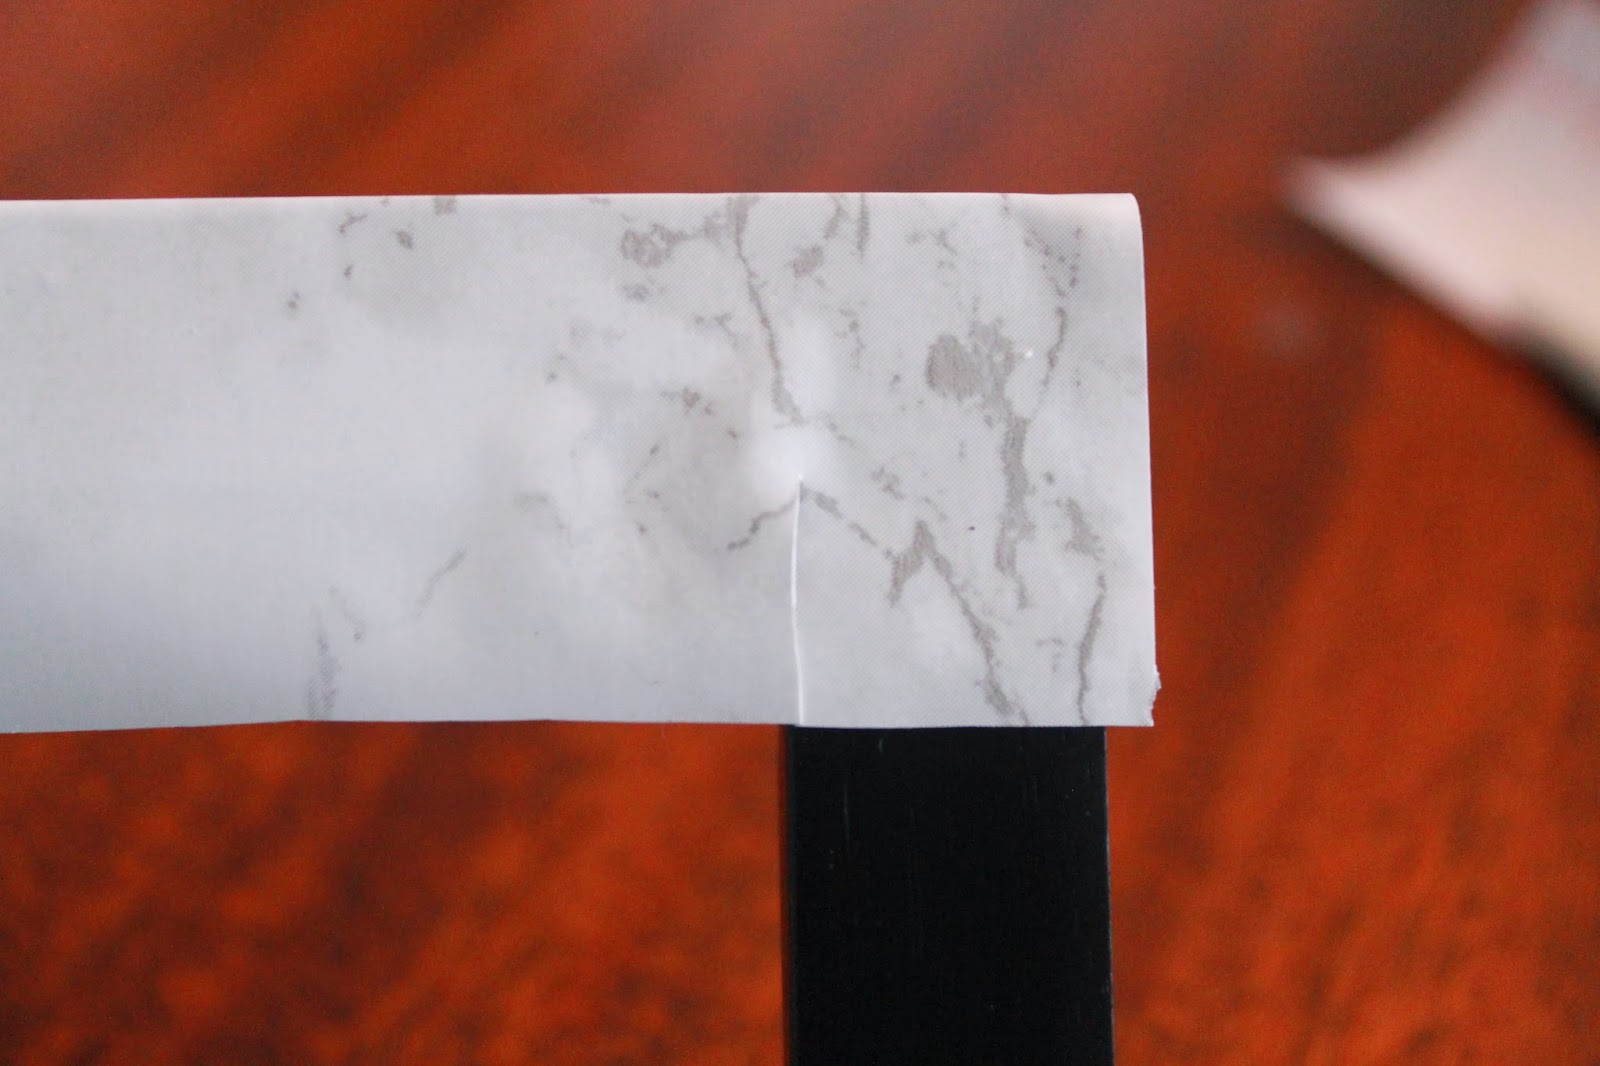
Once you have it smoothed down in the front, grab your scissors and make a small cut in towards the frame. This will allow you to wrap it inside..
like so:
Then do the same at the outside corners. I covered my corners in a bit of Scotch tape to help them hold. You can't see it at all if you're careful!
Both sides completed:
Now I again measured the top and bottom. I just remember my previous width and adjusted the height.
Wrap back to front and snip the corners. Seal any questionable places with Scotch tape and...
Voila!
So pretty! You will have seams, but you can't tell at all!
This took very little contact paper and the roll comes with a LOT. I had this left over from another (several) projects I was working on, so you get a lot of bang for your buck with this paper.
I love how it looks with my other frames! Happy crafting, everyone!
baby photography courtesty of:
Thompson Digital Image
Xoxo,
Natasha